It’s time for another DIY project ya’ll!! I picked up a cabinet thrifting for like $6 because I needed more Sasspot storage, but it wasn’t really the vibe so I put on my DIY game face and got to work! Taking us from this:


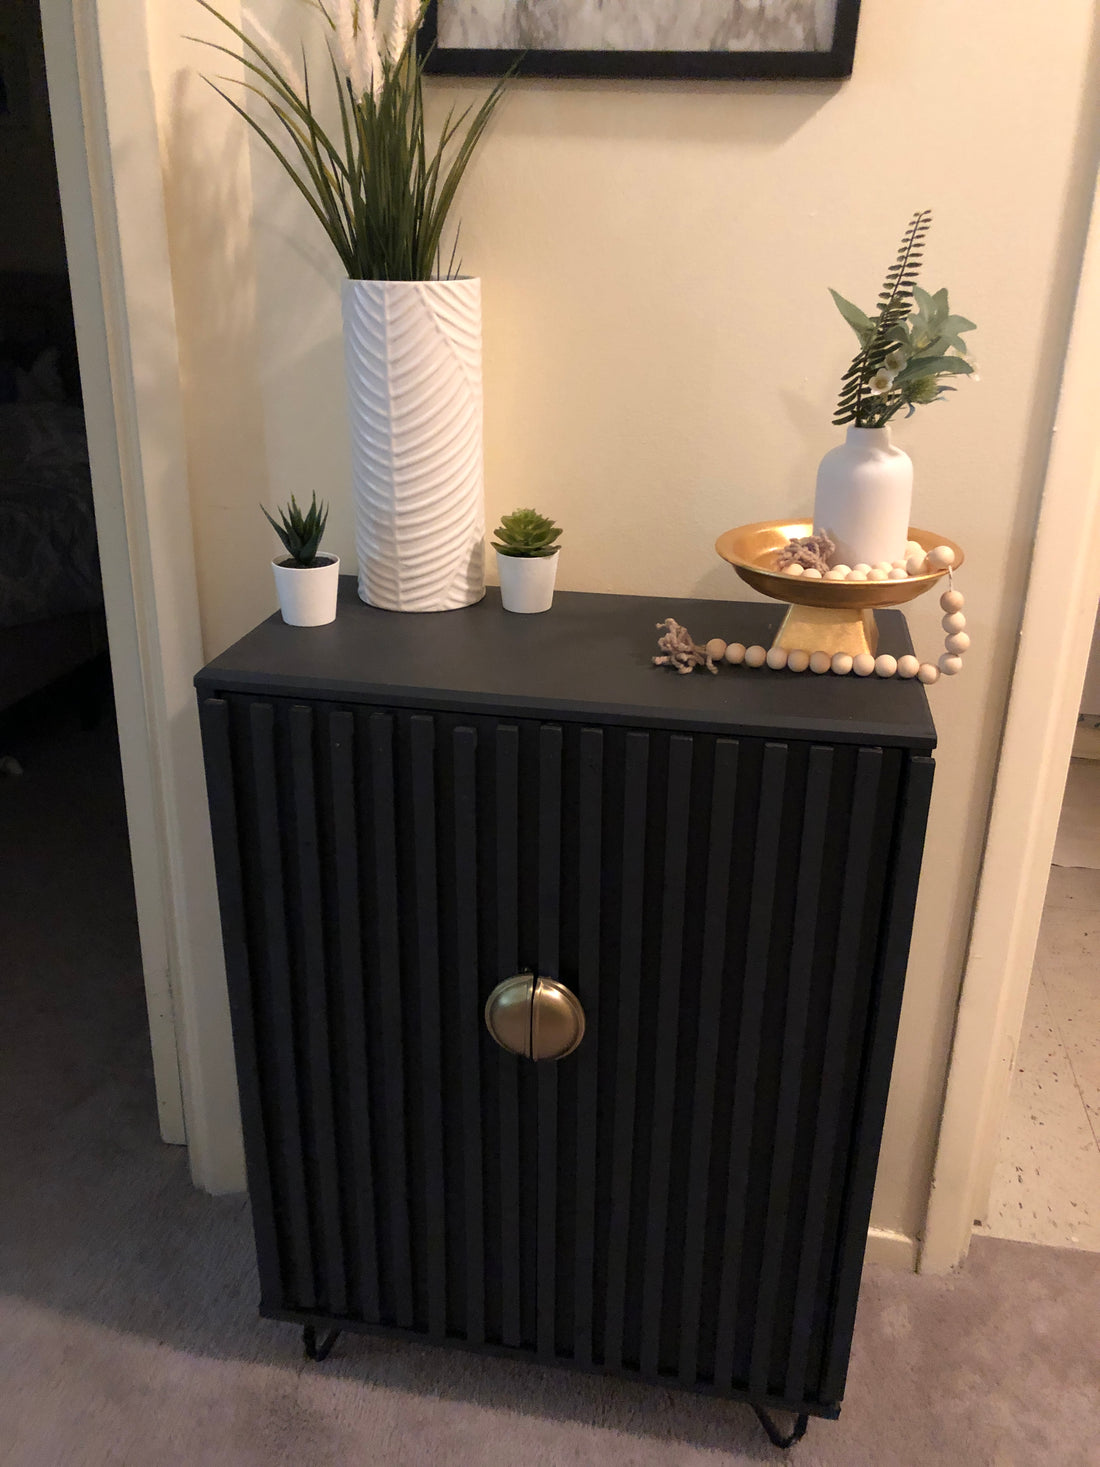
To this:

I immediately knew I wanted to get it up off the floor so my first step was to add some hairpin feet...which involved me needing tools...and power tools are scary. So I called my brother who does woodworking and asked him to give me his recommendation on how to actually go about it. Turns out I was scared for nothing because it was super easy to do! A quick drill to make pilot holes and a few screws later we had feet! 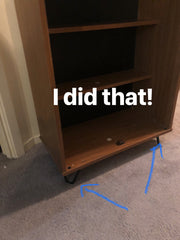
The next step was painting, I have a slight thing for black furniture bc it’s so easy and sleek so I knew this guy was going to be black. I connected with Julie from Homestead Living and she hooked me up with some Fusion paint in Ash, which is like a beautiful charcoal grey/black (I’m obsessed). A light scuff sand is all you need and this stuff sticks amazingly! Also not gross and smelly so you can paint inside which is key for Canada in December. A pile of wood filler for all the weird holes in the cabinet doors and weirdo spots (wood filler is real fun fam), light sand and 2 coats and she’s beautiful! Honestly I probably could have gotten away with a single coat in most spots but two is just smoother.
Final step was really just me being real extra, because I love the Sorry Girls and this cabinet is goals. So I popped to the hardware store for some square lattice, cut to the height of the cabinet, painted those pieces in the Ash shade as well and a quick nail onto the doors to create a faux tambour front. A couple beautiful cup pulls later and some styling and my entry way has a beautiful new piece!